I purchased the Pixscan sheet from DesignsbyMiriam. She had a great price, shipping was super cheap, she threw in a free sketch pen, provided tracking information, and was super responsive. Thanks Miriam!
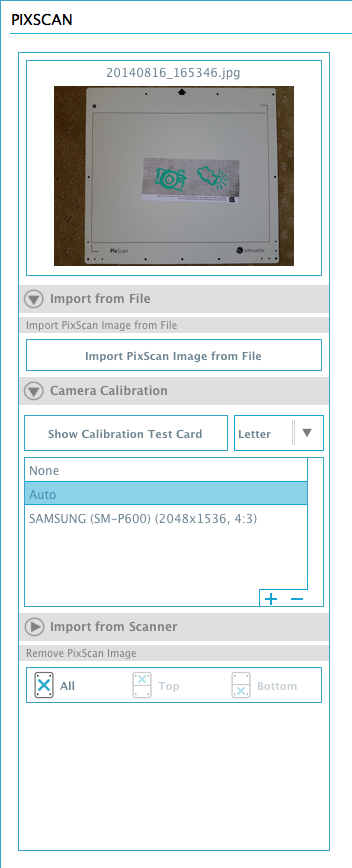
Calibration was easy; however, as a Studio v3 nube, it took me a second to find the calibration test card. To print the calibration sheet, click on “Camera Calibration” and then “Show Calibration Test Card.” Once the dots show up, click print. To finish setup, I took a photo of the test card and then uploaded it by pressing “+.” After thinking for a second, it was ready! For those seeking more directions, I’ve read that the instructions are on page 35 of the Help section in Silhouette Studio. I just followed the helpful directions that the blogger at Paper Pulse Blog posted — below is a screenshot of the menu sidebar so you can see the button that needs to be clicked to show the test card.
Diecuts for Stamped Images
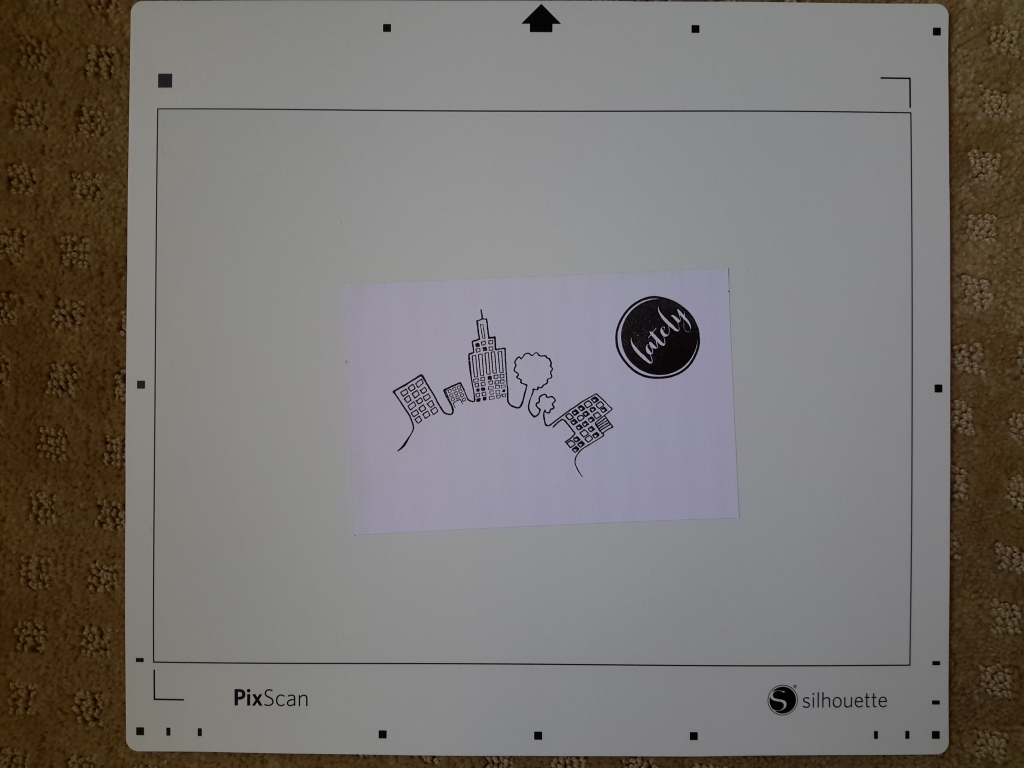
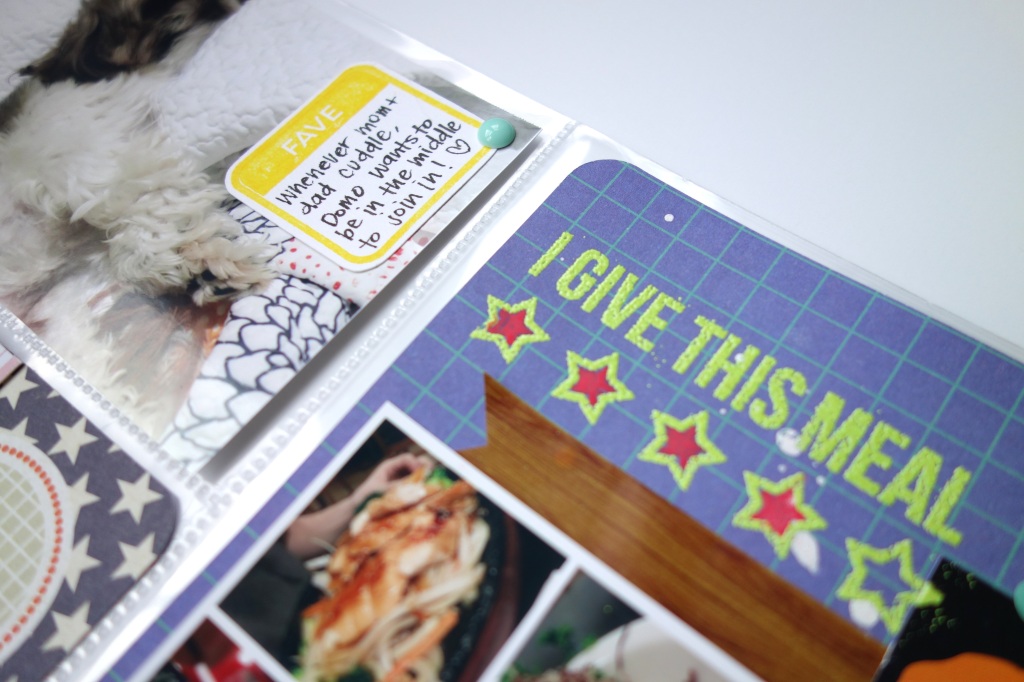
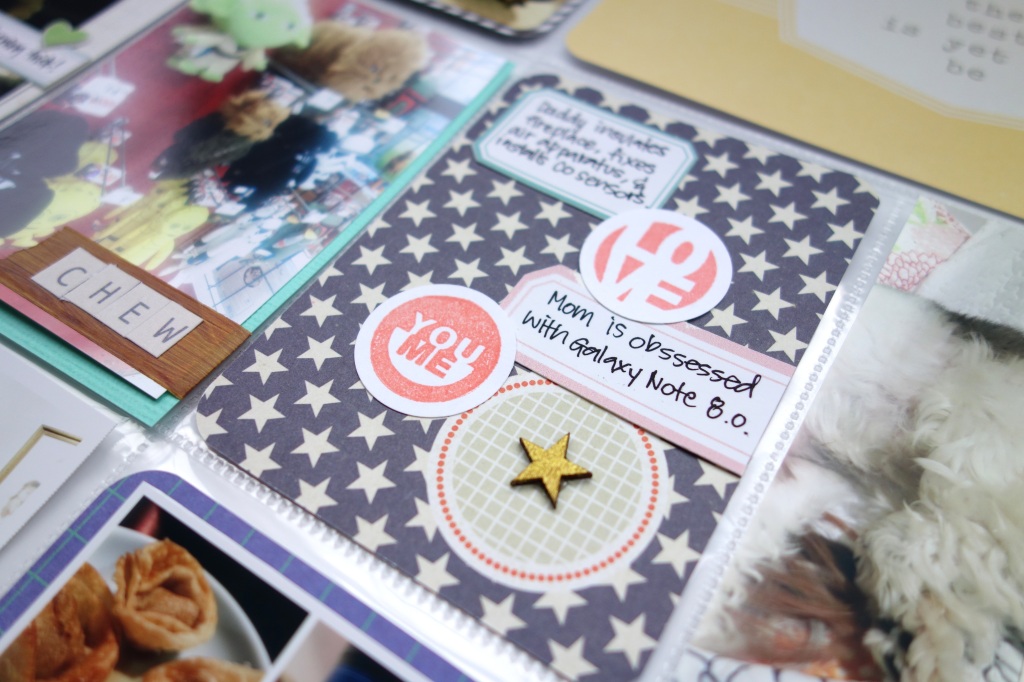
For my first test, I used some stamps I would never want to fussy cut. I like white borders around my images and the Pixscan feature worked brilliantly! As others have noted, once you have taken a photo of the image, you can save the cut outline and create diecuts for future stamping. The Pixscan is going to bring new life to my scraps because I can use any sized paper to stamp an image.
Pixscan image
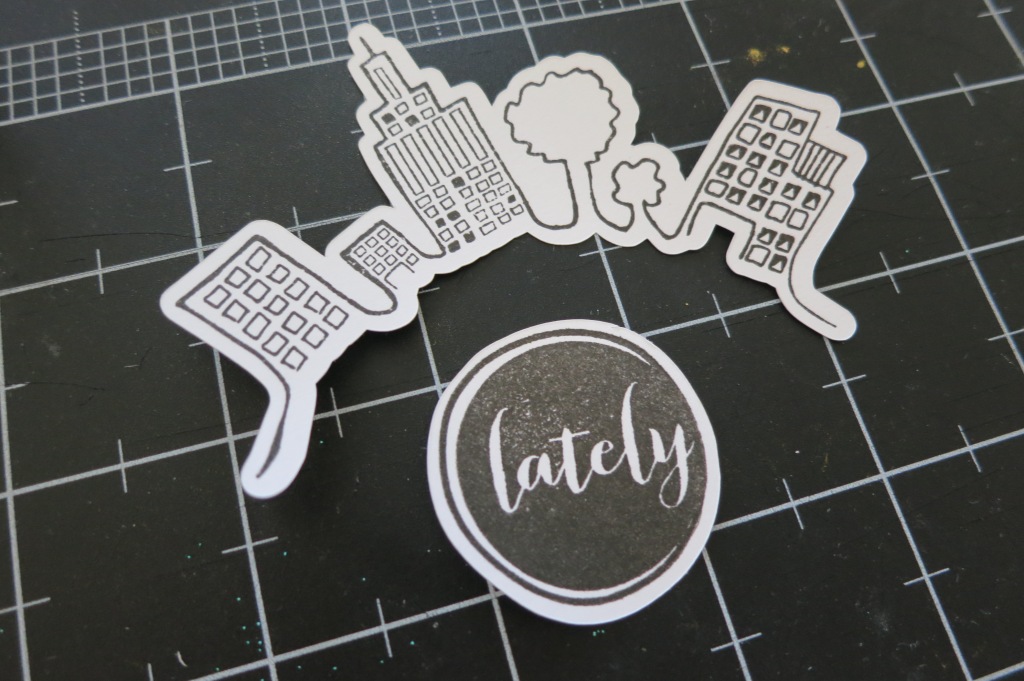
Diecut stamped images
Sketching on Paper Pieces
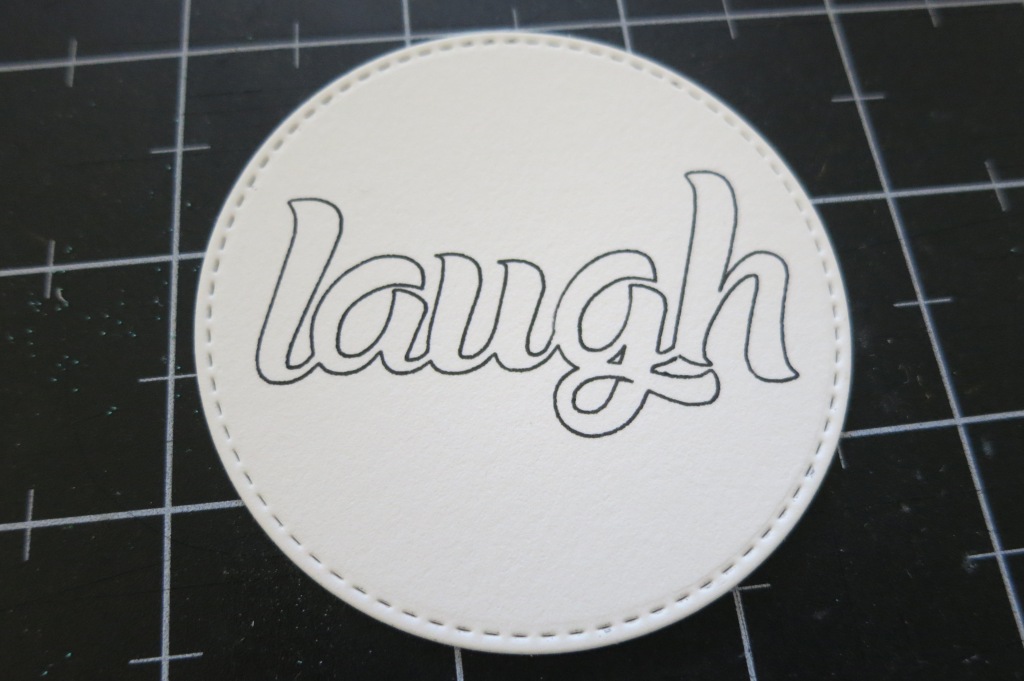
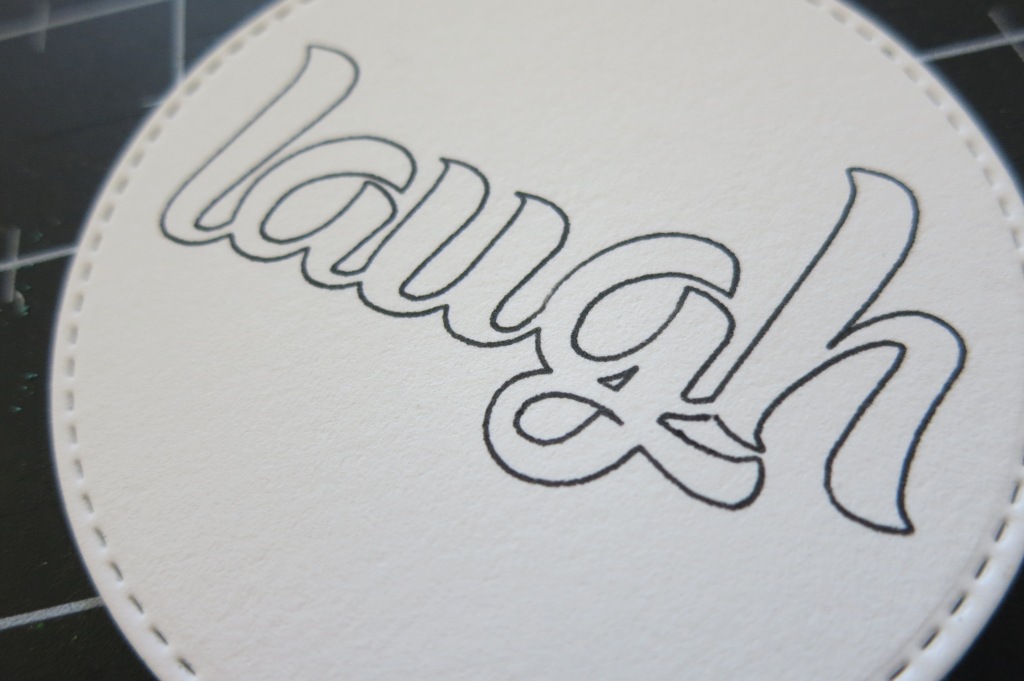
I was also very excited to try the sketching function on paper scraps and other assorted pieces. I’ve found some really neat fonts recently like La Chatte a Maman and have been looking for ways to incorporate them into my crafting. Recently, I purchased my first set of metal dies for thicker materials like the cotton paper I use for letterpress. I cut out a few too many the other day and have been wondering how I might use them. Using the sketch pen Miriam sent me, I typed out the word “laugh,” resized it for the shape, welded the letters, and then sent it to the Silhouette to sketch. I love how it turned out!
Pixscan image
Sketched piece
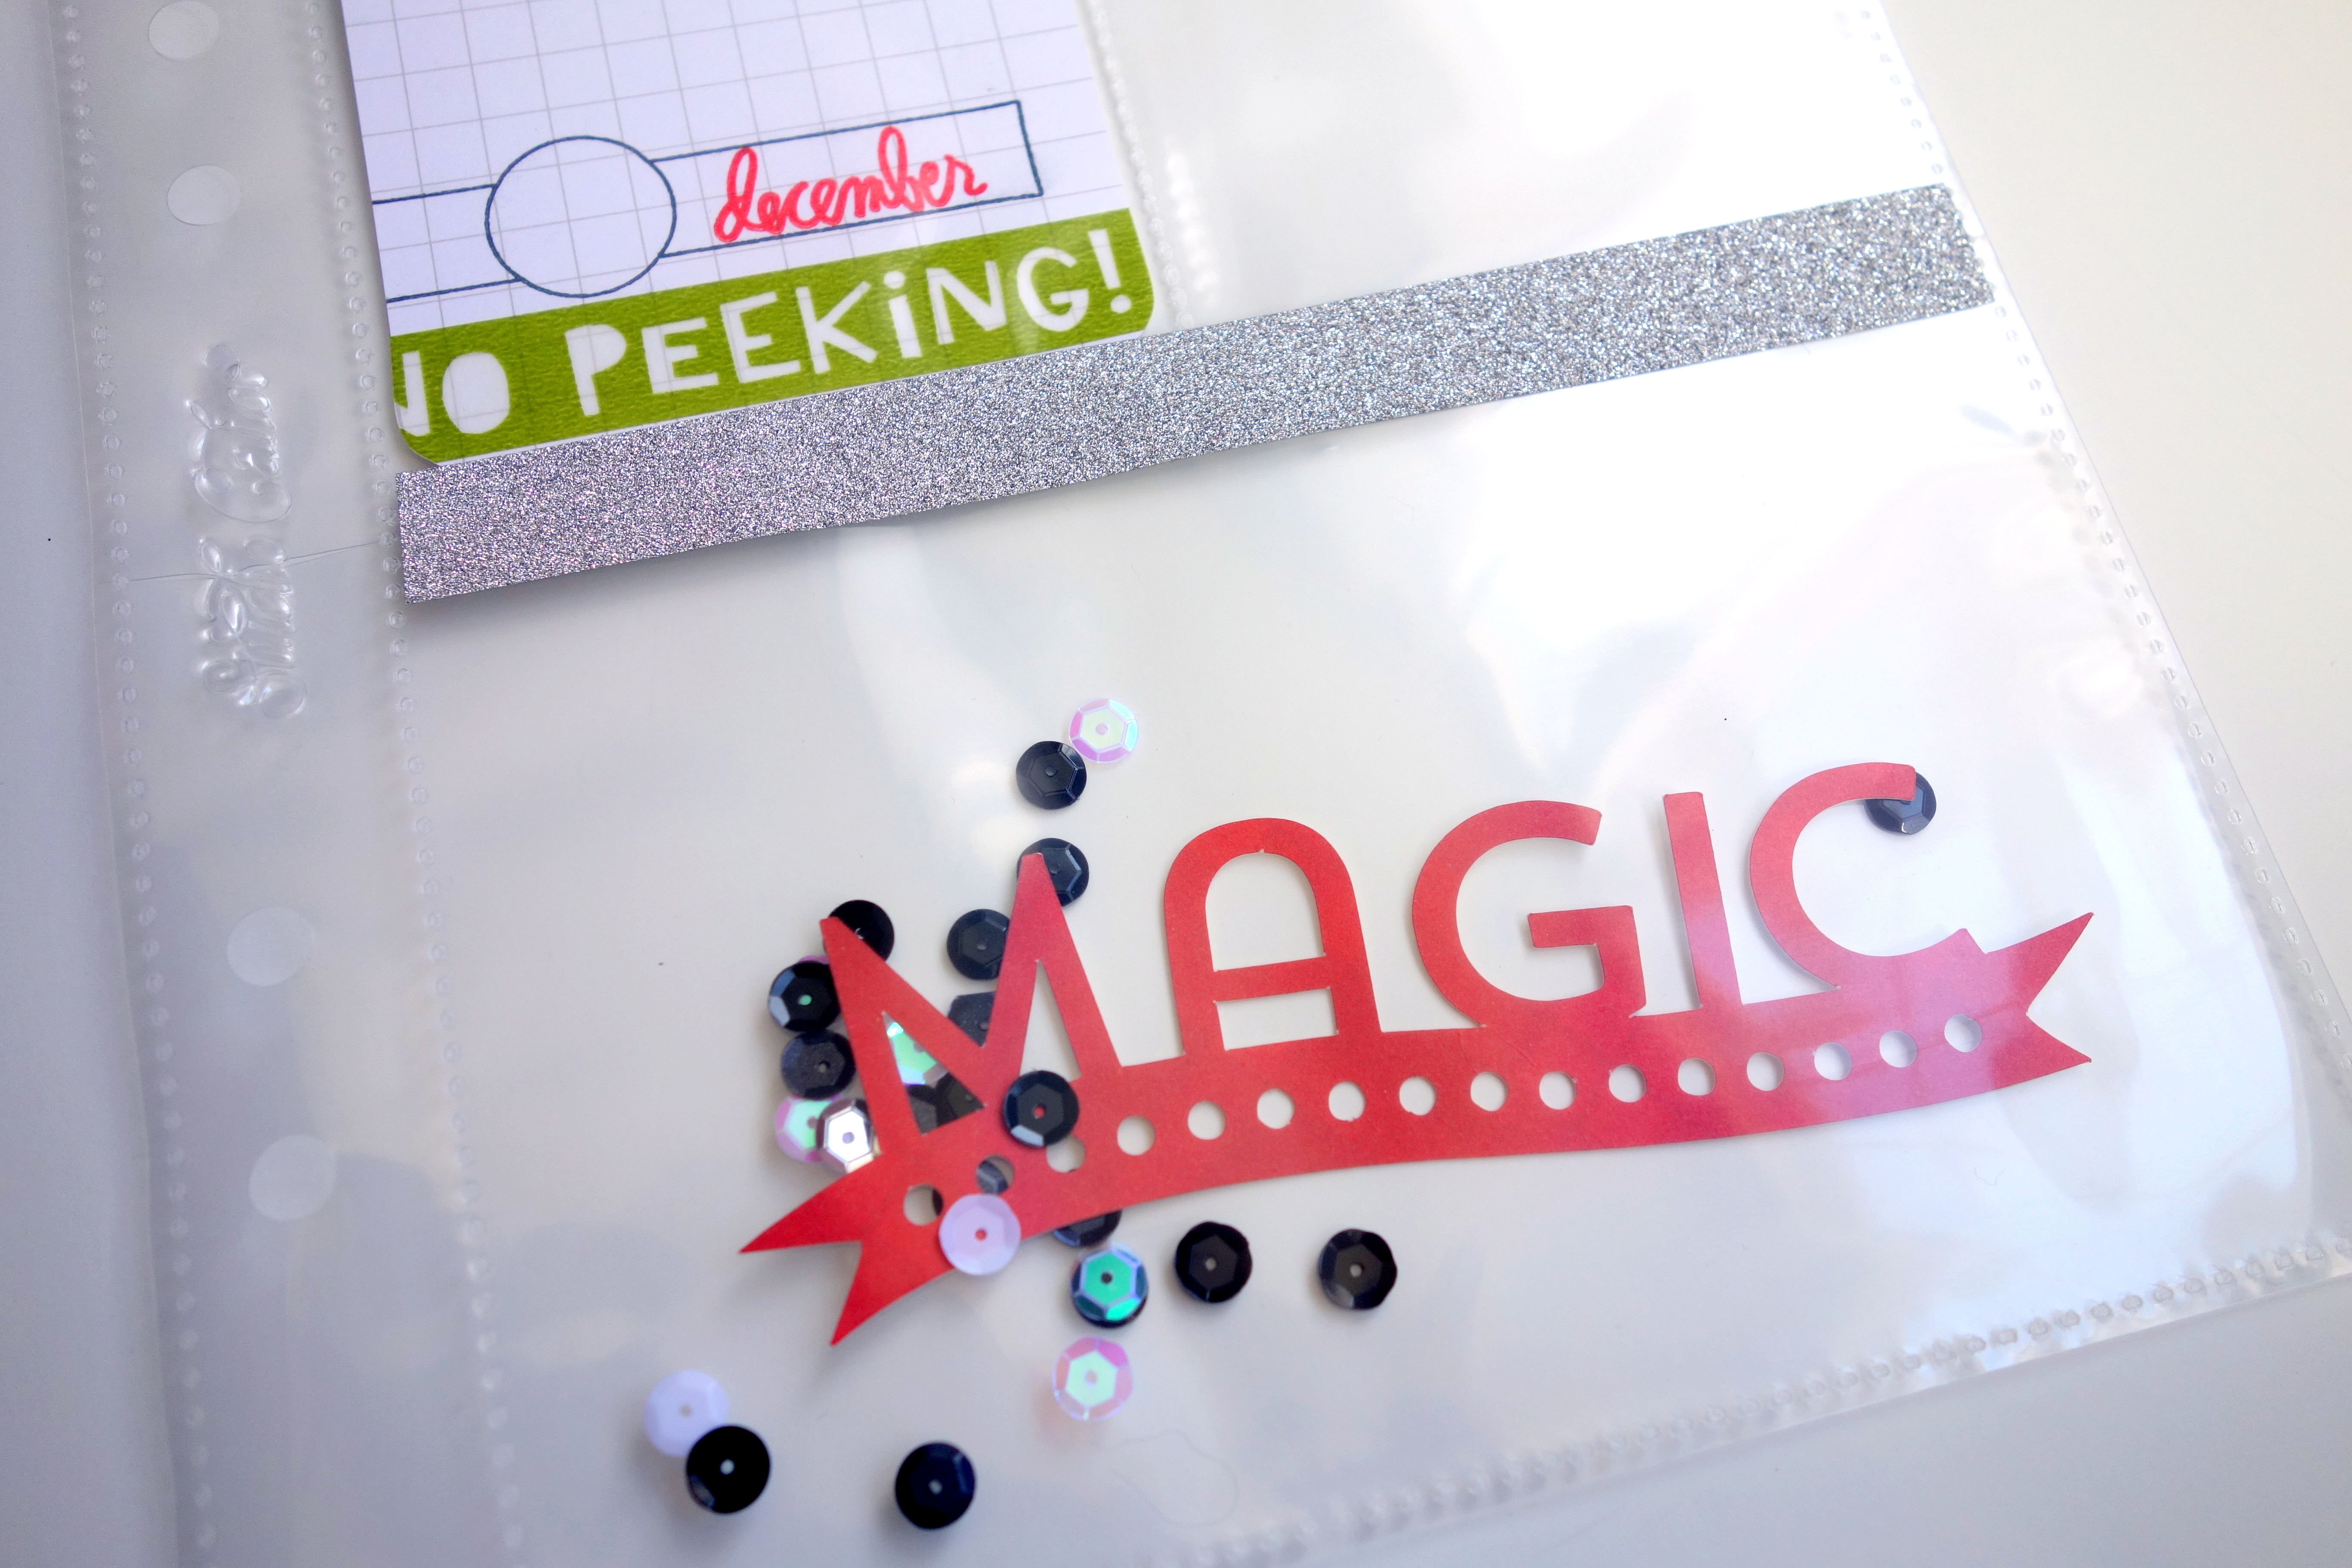
Cutting out Embossed Images
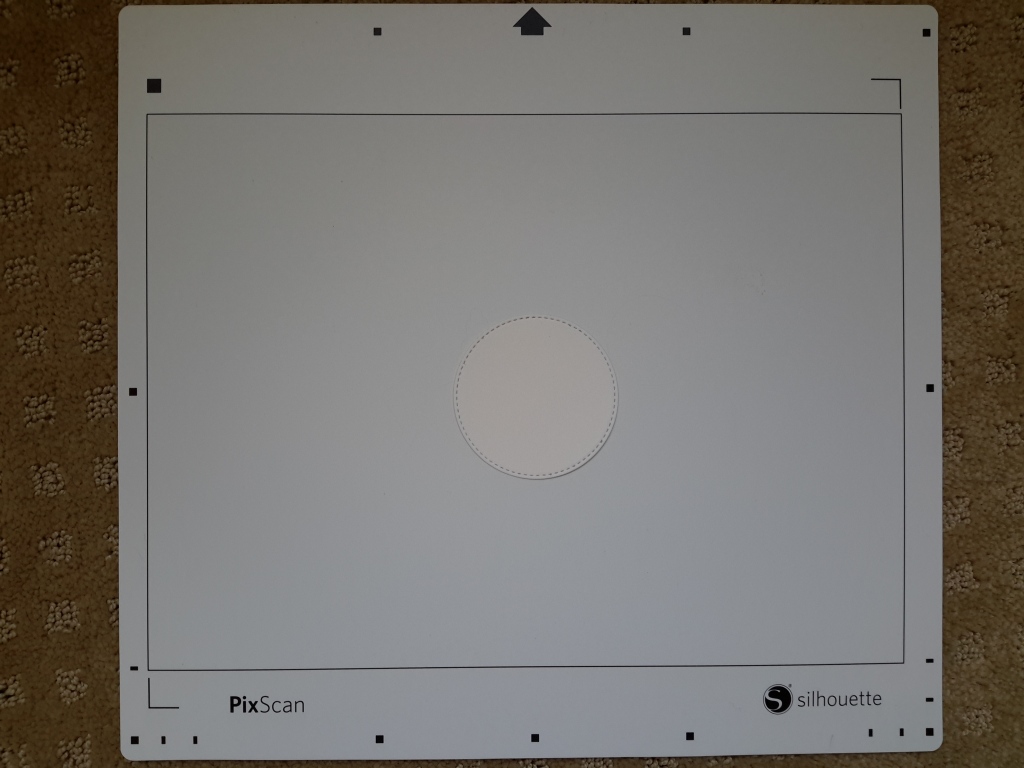
There aren’t a ton of reviews out there yet but a few have mentioned that Silhouette Studio needs a relatively dark line for the Trace function to work effectively. I decided to experiment with an embossed image and to add to the challenge by stamping on top of a lightly patterned paper. I had to play with the trace function for a bit to get a clean cut and then offset it. The outcome though was awesome. My friend and I worked on some Christmas cards earlier this year and it was such a pain to take delicate vellum diecuts, stamp them with Versamark, put on powder, and then heat set each tiny piece. With the Pixscan, I can definitely see embossing first and then cutting the embossed sentiments out en masse.
Pixscan image

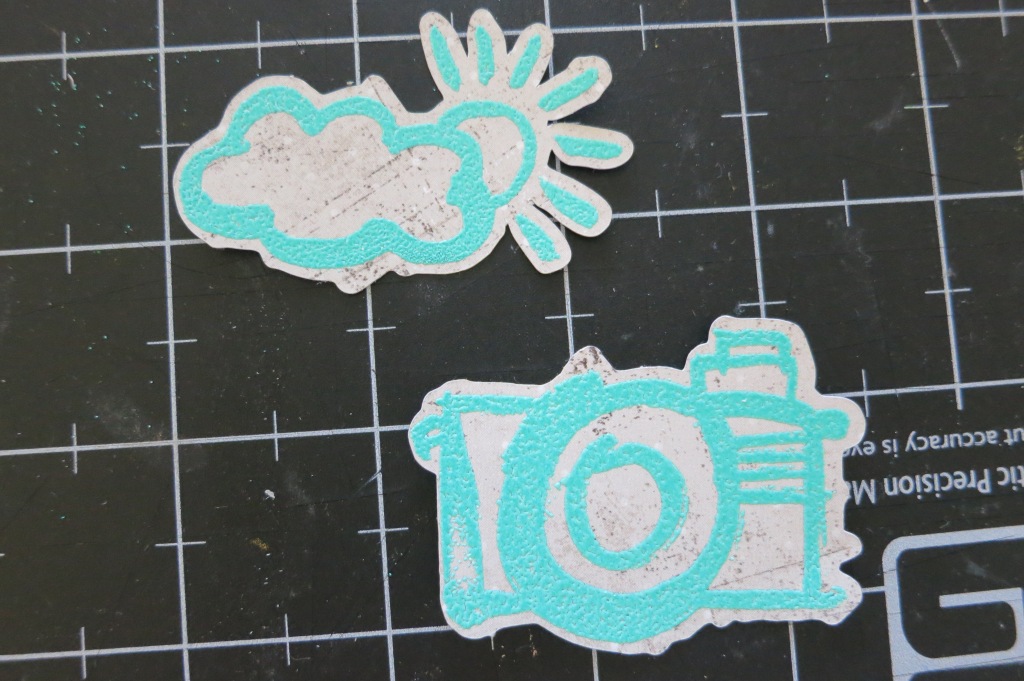
Diecut embossed image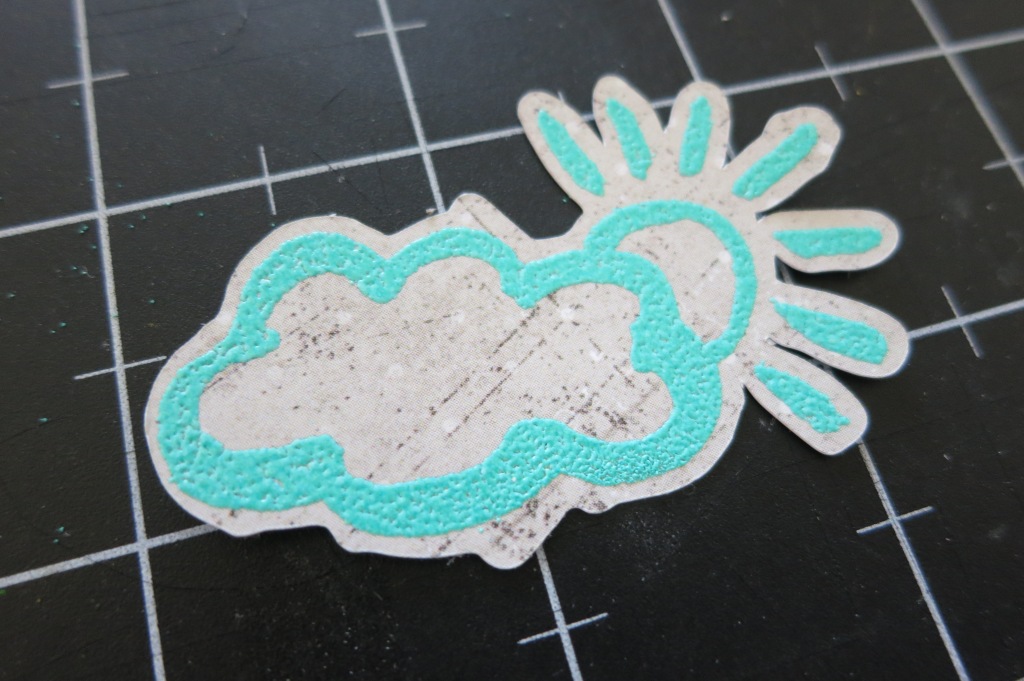
One note – some of you may notice that the offset on the sun was almost perfect, while the camera offset is slightly off. This is the result of user error — when I took the photo, the paper wasn’t pressed down firmly enough and had a few bubbles. I only noticed after I imported the photo into Silhouette Studio and smooshed the paper down before I sent the cut file to my Silhouette without thinking. This error though gives you a sense of how accurately PIxscan captures the position of the image on the scan.


