I’ve mentioned a few times that I really don’t like to fussy cut and I thought I’d create a little graphic to show people what I do to create digital die cuts for my stamped images.
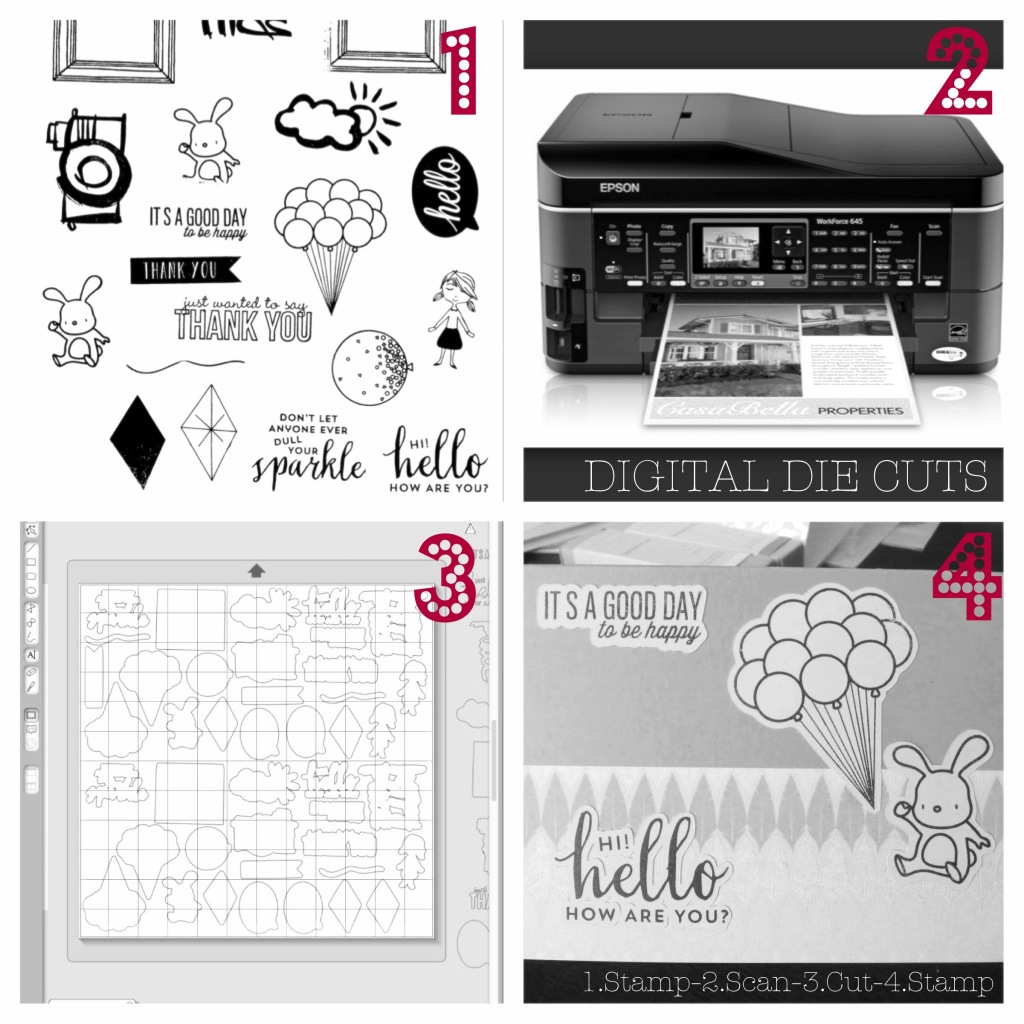 1. Stamp all images on white printer paper using Versamark ink for smooth and crisp lines.
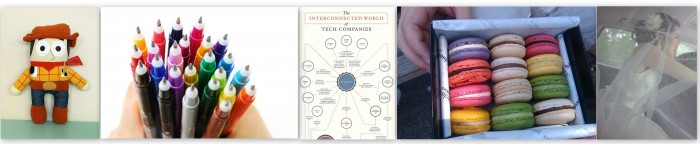
2. Scan image on my flat bed scanner to ensure that all the proportions are right. I don’t have any evidence that using the automatic document feeder warps the image scale but using the flatbed ensures that the proportions and scale are perfect every time.
The file can be saved in any format that your Silhouette software can support. My scanner defaults to .pdf.
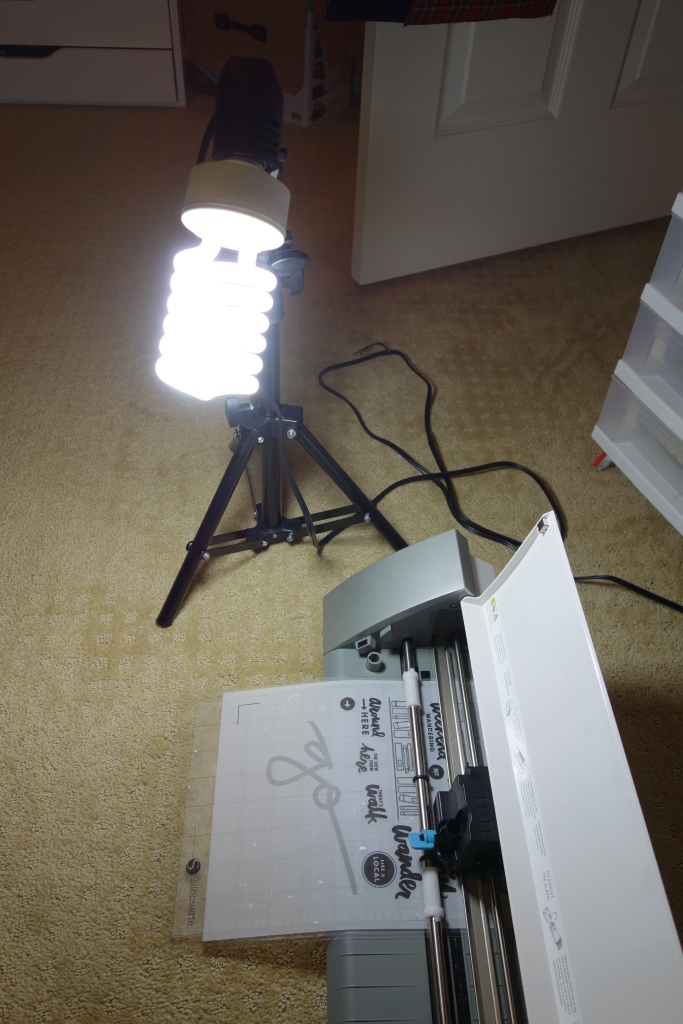
3. Import .pdf into Silhouette Studio. Use trace function to create cutlines and offset window to create an offset so that the cut file image is slightly larger than the stamp outline. This helps create a border for your stamps.
4. Voila!
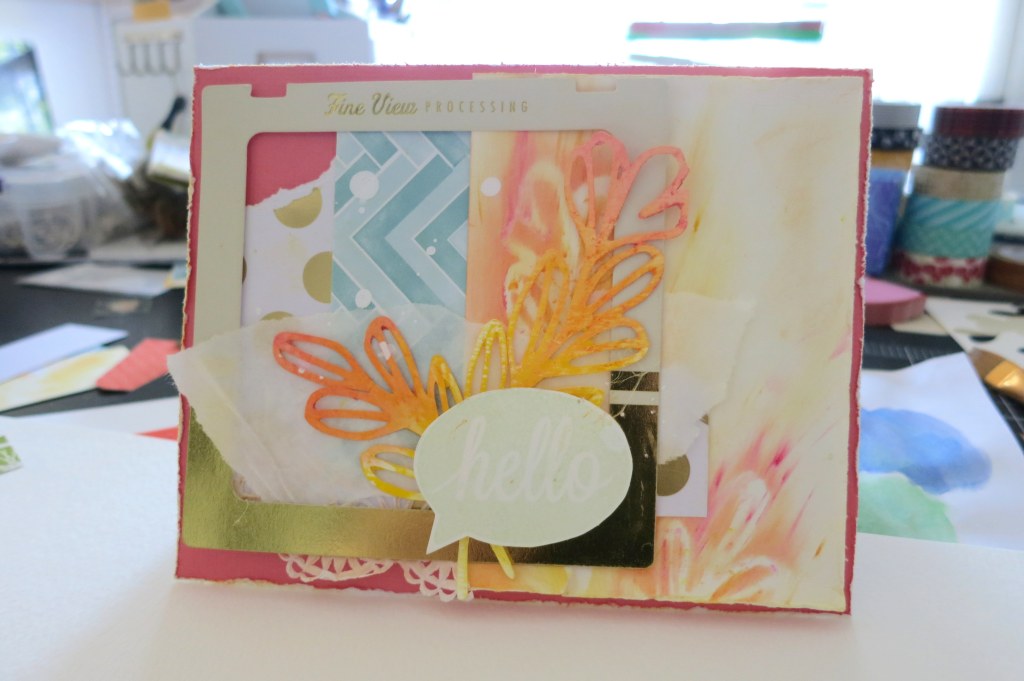
Some may argue that it’s easier to use dies, they’re just not for me. I’ve only purchased a few dies and don’t really like them. It’s a quirk of mine but I really don’t like how my Cuttlebug folders get all cut up and I don’t even want to start figuring out the best way to store die cuts so instead I use my scanner. I keep multiple die cuts on hand for future stamping projects and save my files so I can always easily cut out some more. This technique was awesome when I used last year’s blockbuster Wplus9’s Fresh Cut Florals set.


 Tips
Tips